Freshsales filters helps a sales rep segment specific Leads that they want to reach or keep track of. You just need to add the conditions that you want and fetch a filtered list.
Just to help you get started, we’ve given a set of sample custom views,
Hot Leads - Lists the leads with lead score greater than 70.
Warm Leads - Lists the leads with score in between 30 and 70.
Cold Leads - Lists the leads with lead score less than 30.
You can also use the default views available in your account. You can edit the filter criteria and save it as a custom view if needed.
To create a custom view,
1. Login and go to the specific entity’s list view(Lead/Contact/Account/Deal), that you want to filter.
2. Click the Filter icon.
icon.

3. A pane to add your filter conditions comes up.
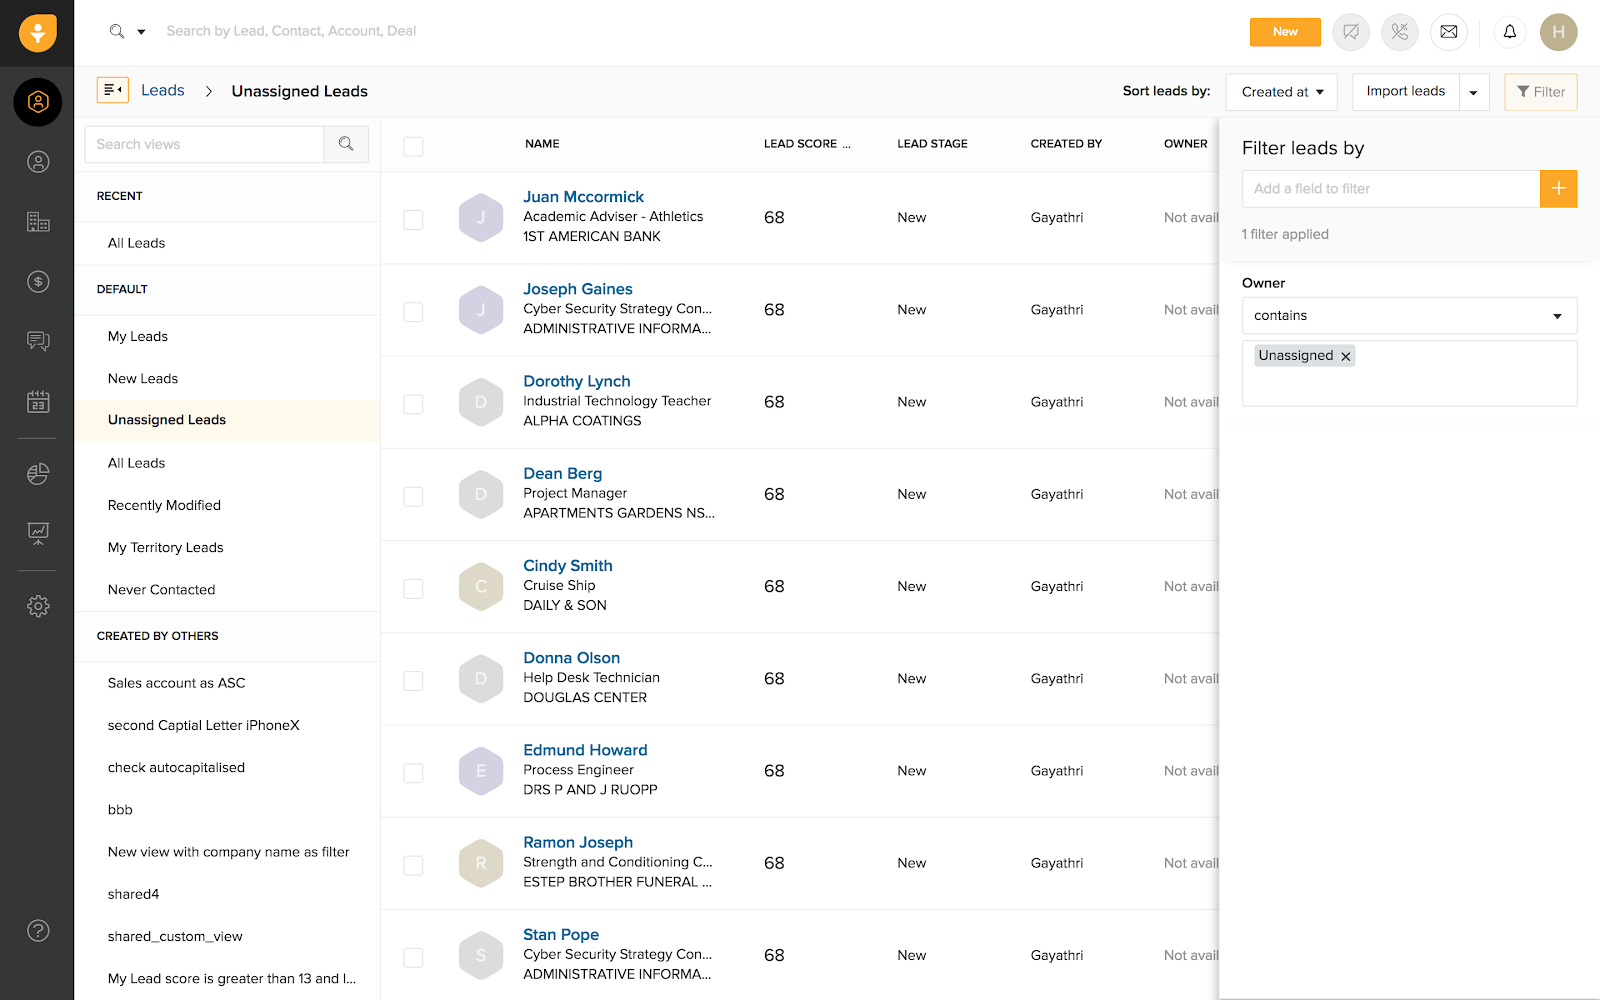
4. Using the + button, choose the fields that you want to filter by.
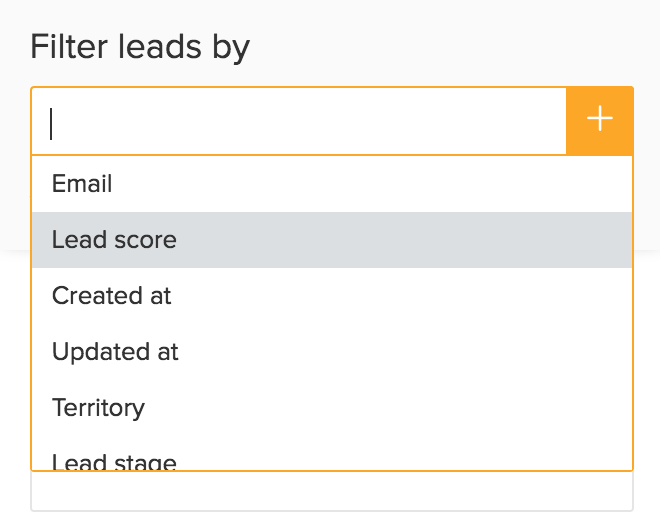
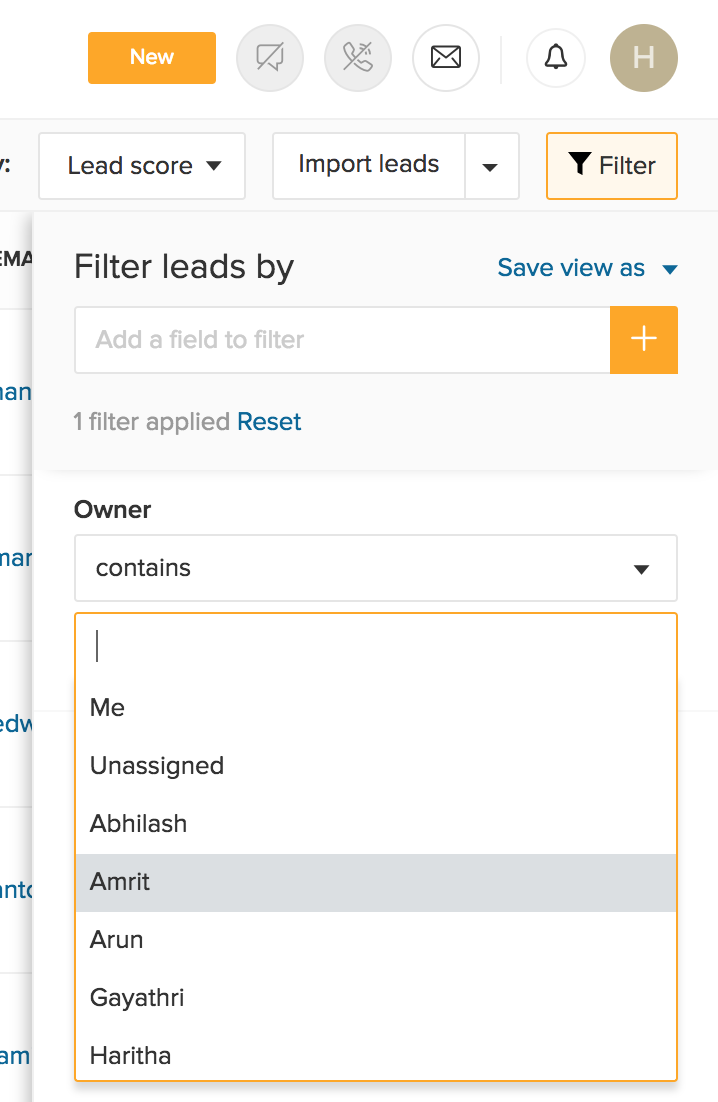
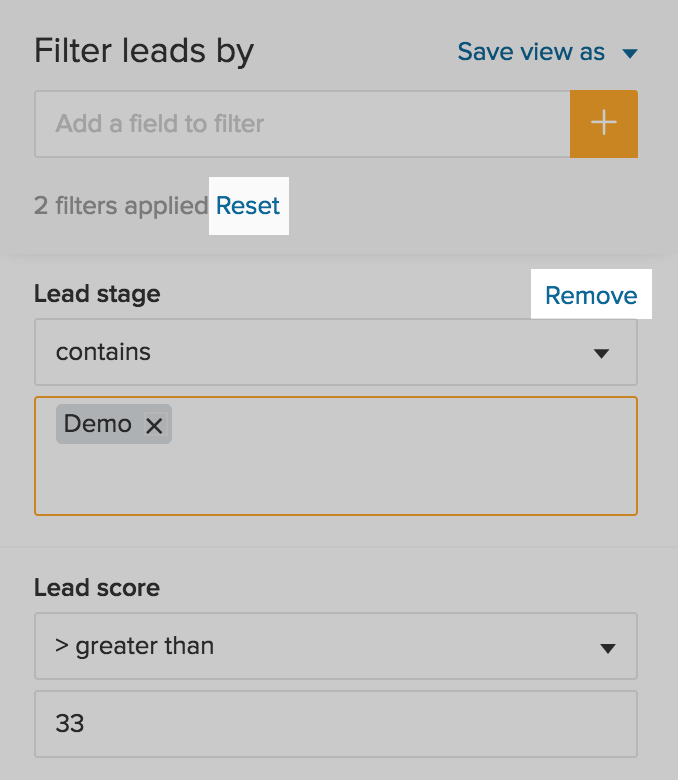
5. The chosen field gets listed. Add the value(s) of that field in the input slot that appears right below to filter records with the matching value. Learn more on the list of field types and the operators available for filtering.
6. The record list is updated immediately for every field added. After adding all condition for that particular filter view, you need to save it.
To save a custom view,
1. Click the Save view as button present right above the +(Add filter) symbol.
2. Name your custom view and choose its visibility. You can configure visibility in one of the following three ways:
- Just me: Only you can access the custom view.
- Everyone: Everyone the Freshsales account can access the custom view.
- Selected users, teams and territories: You can opt to share the view with specific users, teams, and territories.
3. Click Save.
Once you’re done adding all your conditions, you can choose to select the columns that you want to see in the filtered list view.
To customize the column fields,
1. Click the button on the list view page.
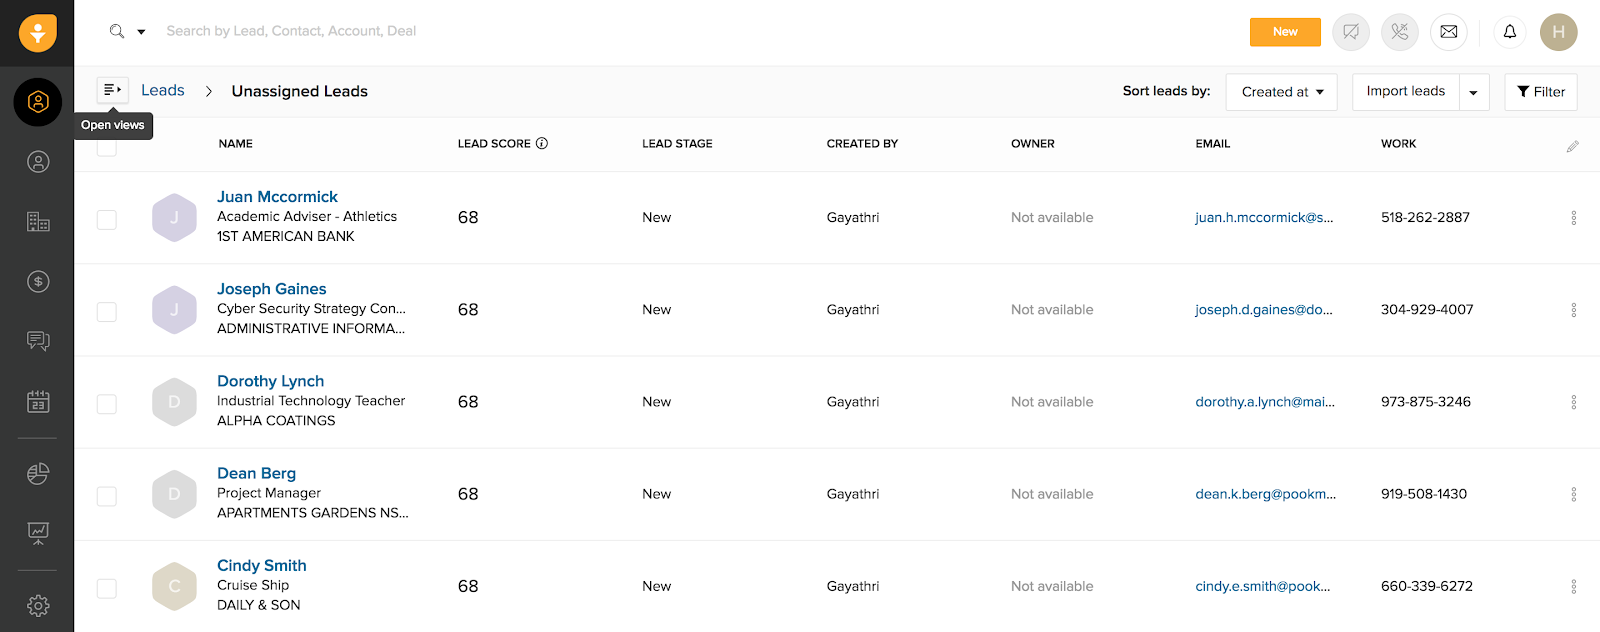
2. You can choose a maximum of 5 columns.
3. Save these changes to see a filtered list of records along with the columns that you’ve chosen.
After all this filtering and customization, you can find all your views(saved & default) listed in the open views pane.
To access the list of all views,
1. Click the Open views icon.
2. Choose the view that you want. You can further make changes to the view by adding or removing filter conditions. Once you’ve added the different custom views, you can further edit, remove or in general customize it further.
Searching for a specific view:
To find a given custom view, you can use the search bar from the Open views pane. This will help you quickly find the view you want without having to look through the entire list of saved views.

Editing a saved view:
If you want to edit the filter name and visibility of your saved view,
1. Select the view to be edited from the Open views pane.
2. Once the records are listed, click the edit icon present next to the current view’s name.

3. You can choose to rename the view and also share it with your team if you want to.
4. Hit Save once done.
You may also edit the filter conditions, i.e add or remove certain fields, change the values mentioned for certain fields too.
Select the view to be edited from the Open views pane.
Once the records are listed, open the Filters pane.
Add more conditions, edit the values of existing filter fields or remove certain conditions.
You have the option to clear all filter conditions for that view by clicking the Reset button.
Once you’re done editing, click the Save view as button and finally click Save.
Deleting a custom view:
When your business evolves, certain views might go obsolete. You can entirely delete such views(i.e. views created by you or ones shared with you).
1. Choose the view that you want to delete from the open views pane.
2. Click the delete icon present right next name of the view.
