Quickbooks is an accounting software that makes handling the payment and associated tasks easier. Now, the integration of this software is available with Freshsales. Let’s see how you can activate and set up this integration.
Who can configure this?
- Every Freshsales Admin with an active Inuit account can activate this integration.
- An Admin in Quickbooks can enable this integration.
What do you get from this Integration?
View your customer invoices in Freshsales under the respective lead or contact
Get a summary of total paid and unpaid amount for each lead
Get notified when your lead or contact makes a payment
Pin Quickbooks invoices against your lead in Freshsales
Search your Quickbooks invoice without leaving Freshsales
How to configure?
a. Enable the integration from Freshsales:
Login into Freshsales as an Admin.
Go to Admin Settings > Integrations > Third party integration > Quickbooks.
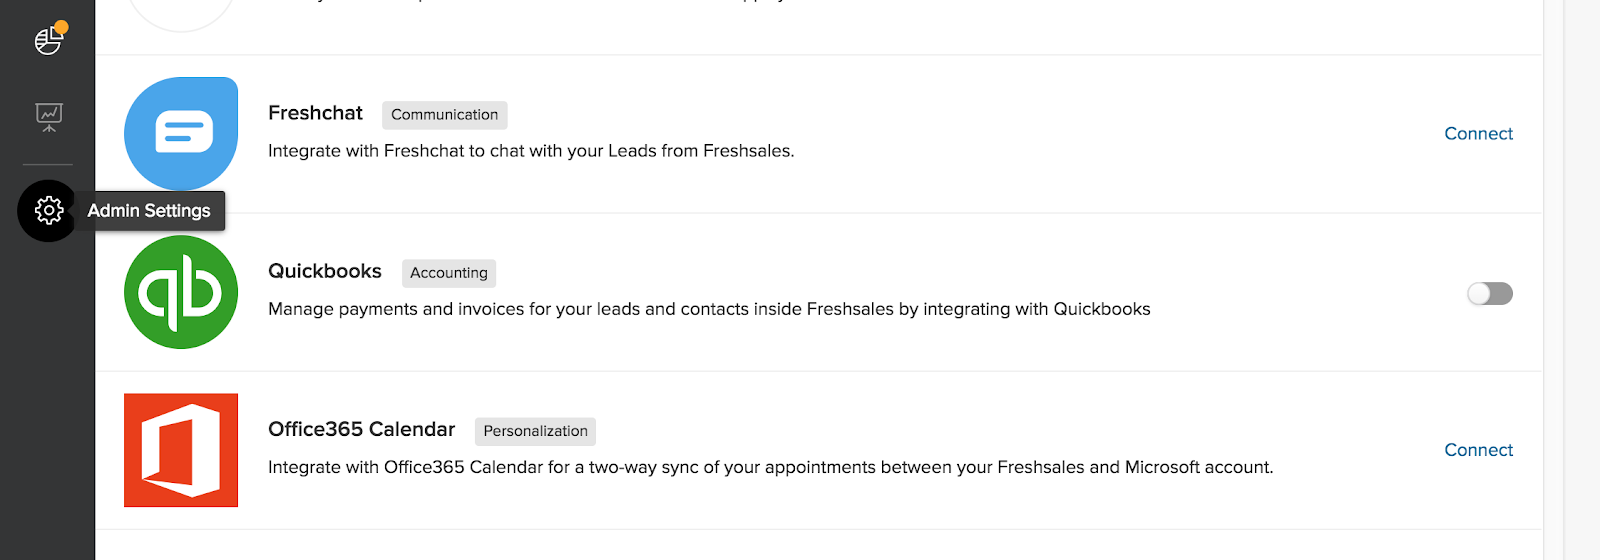
Enable the toggle. Click the Connect to Quickbooks button from the page you are directed to.

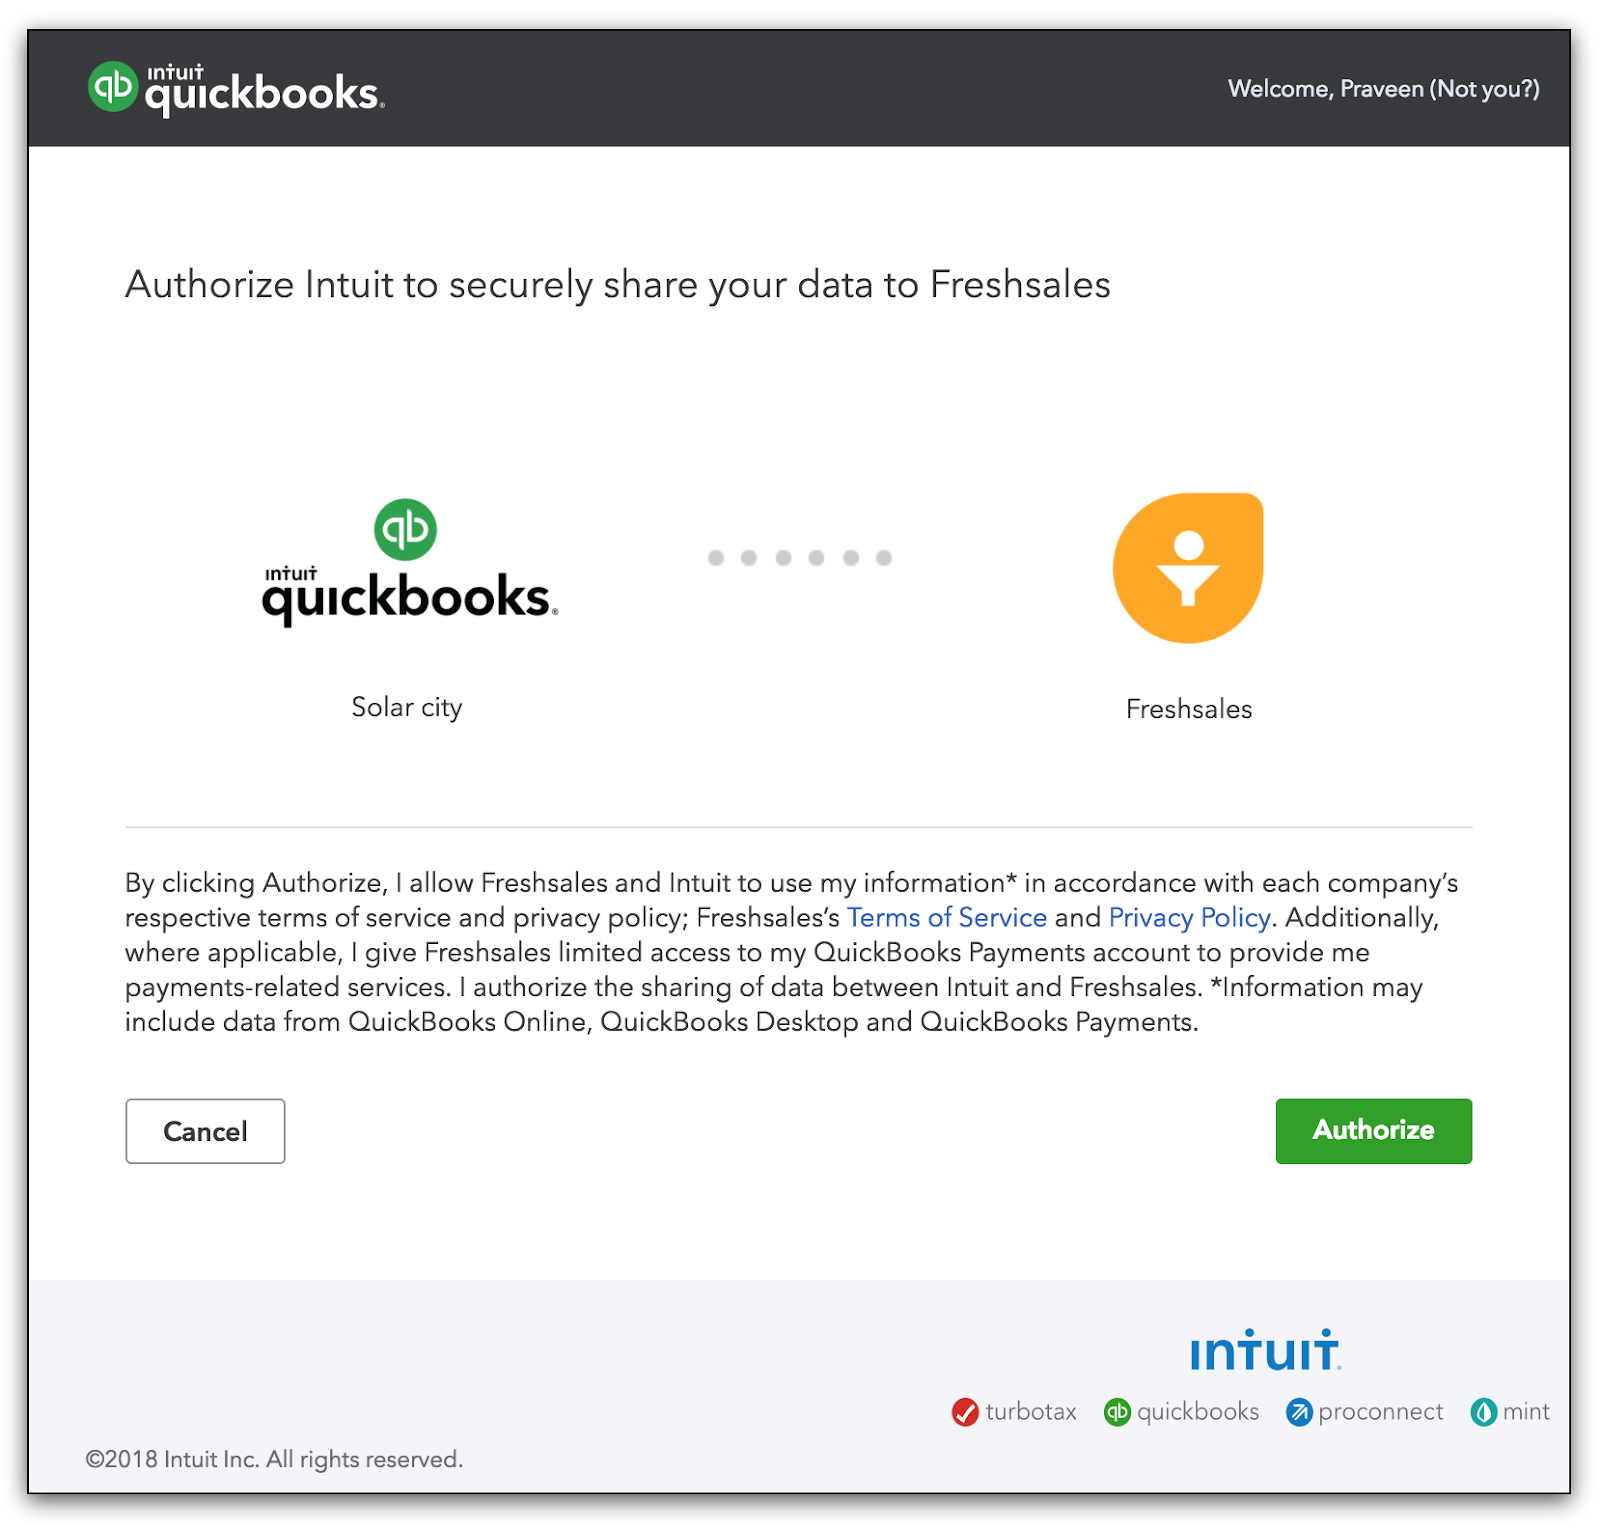
You are directed to the Quickbooks page. If you’ve already logged in, just click on Authorize to proceed.
Else, sign into your Quickbooks account and then click Authorize.
Upon successful authorization, you’ll be directed to the Quickbooks integration page under Freshsales Admin Settings.
Your Company name and Email as mentioned in the integrated Quickbooks account appears here.
If you choose to be notified every time a lead or a contact makes payment, enable the checkbox.
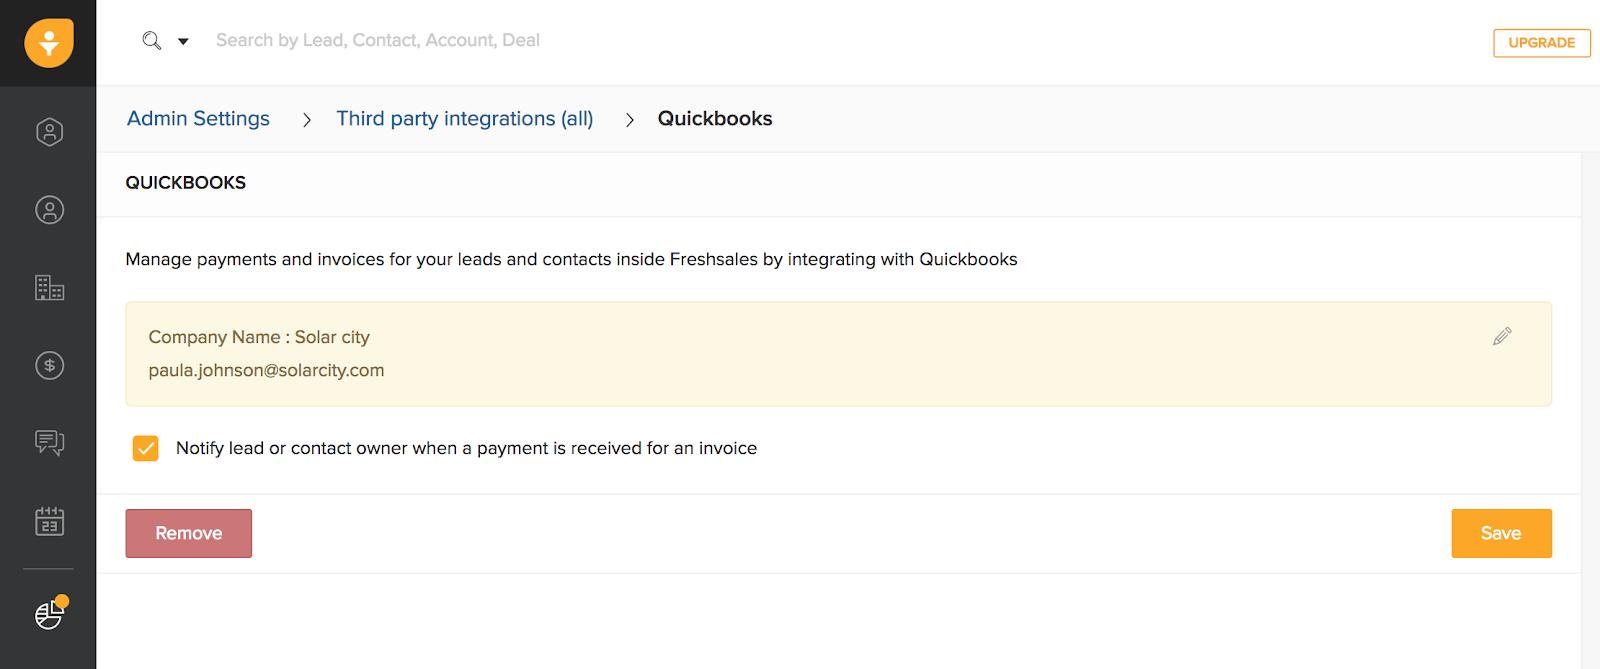
Hit Save.
b. Access your invoice from Freshsales:
All invoices related to a given Lead or Contact is listed in their respective details page.
Go to the Lead or Contact module. Click on the record whose invoice you want to view.
Scroll down to the end of the details page.
Right below the Recent Activities timeline, you’ll find an integrations tab with all active integrations.

Click on Quickbooks. Invoices related to the respective lead is listed here.
Note:
|
c. Customising your Quickbooks integration view:

By default these are the various functions that you can use in this view:
1. Search box: You can use this to search for specific invoices by the invoice
number.
2. Filter by date: You can list all invoices with Invoice date during a particular
time of the year. Once you enter the start and end date, click
Apply to see the filtered results.
3. Total paid and: These two clickable boxes show the gross amount
Total unpaid that’s been paid and the amount that is yet to be paid by your
Lead or Contact till date via Quickbooks. On clicking these
boxes, the list of all paid and unpaid invoices are listed
Respectively.
4. Pinned Invoices: You can bookmark any important invoice for your quick
reference by clicking the pin icon that’s seen to the left of every
invoice. On choosing the Pinned Invoice view, you can list all
these pinned invoices. You can use this more like a priority filter view.
5. Saved views: A list of five saved views that helps you skim through a filtered
set of invoices.
Filter name | Filter conditions |
Paid | Balance = 0 and Status= Paid |
Unpaid | Balance > 0 and Status = Open or Overdue or Partially Paid |
Open | Balance > 0 & Due date > Current date |
Overdue | Balance > 0 & Due date < Current date |
Pinned | Invoices that are linked to your Lead or Contact |
6. Pagination: Use the record level and page level pagination options to decide
on how many records should be listed per page. You can choose
to list three, five or ten records per page.
d. Interpreting the list of invoices:
The following are the details that are available for each invoice—Invoice number, invoice date, invoice type, balance, total and status(paid or unpaid). This is filled or empty based on the data that’s seen in Quickbooks.
Of the above mentioned details, Invoice number is clickable and takes you to your invoice’s detailed view in Quickbooks.
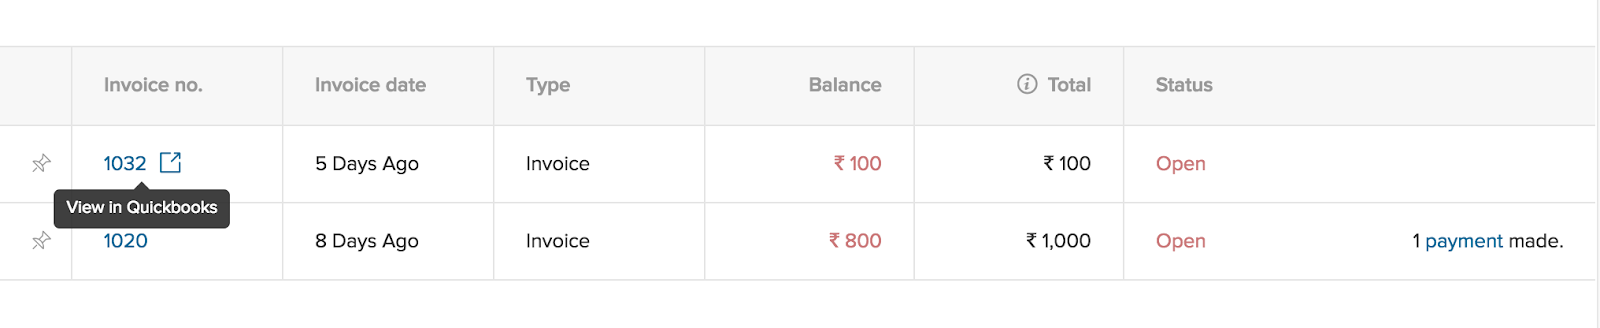
If any paid invoice is processed as part payments, i.e:payment done in installments, then a Payments link is visible next to the corresponding paid invoice status field. Hover over this link to know the date, amount and payment number of each of the installments. You can also see the number of installments that’s been paid from the status field.

4. If you had enabled the notification checkbox from the Admin Settings, then for every new payment made(full or part payment), an clickable in-app notification with the invoice number and the corresponding lead’s or contact’s name appears.