As an Admin, you can set up multiple pipelines to accommodate the sales process of
Each sales team’s sales cycle
Different territories
Different products & services
Outbound or inbound sales
to name a few.
How to get started?
Whatever may your sales process be, to set up a new pipeline, follow these steps:
Log in as an Admin.
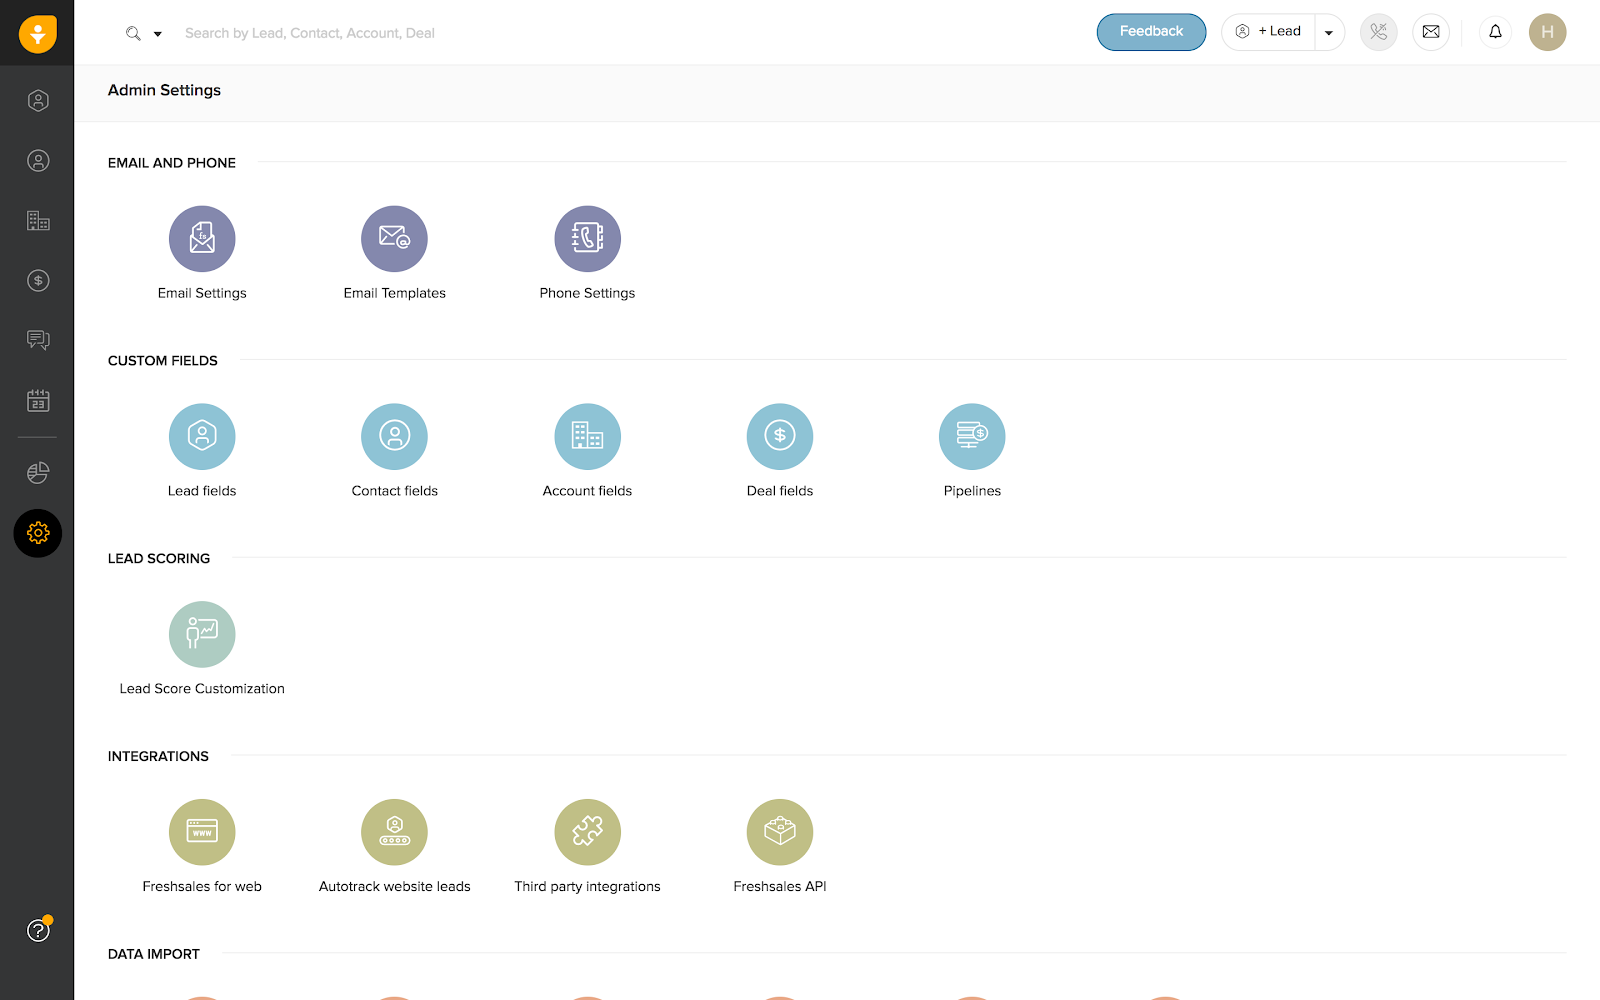
Click Admin Settings > Custom fields > Pipelines.
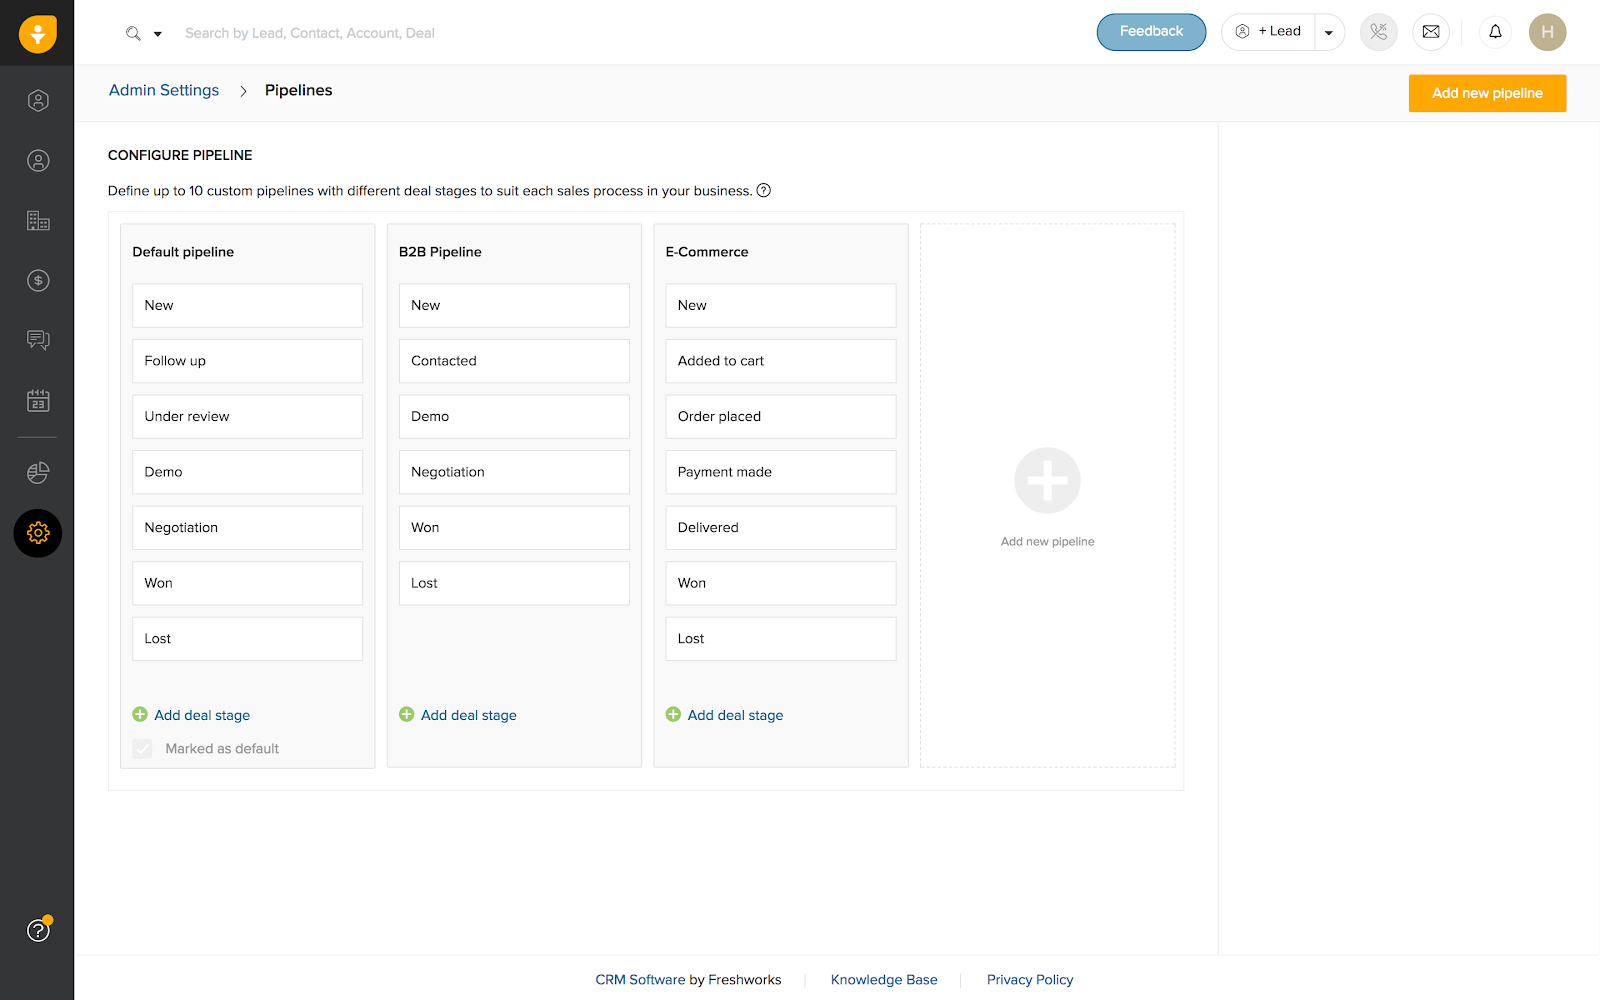
All your existing pipelines appear here.
Click the Add new pipeline button or the + symbol.
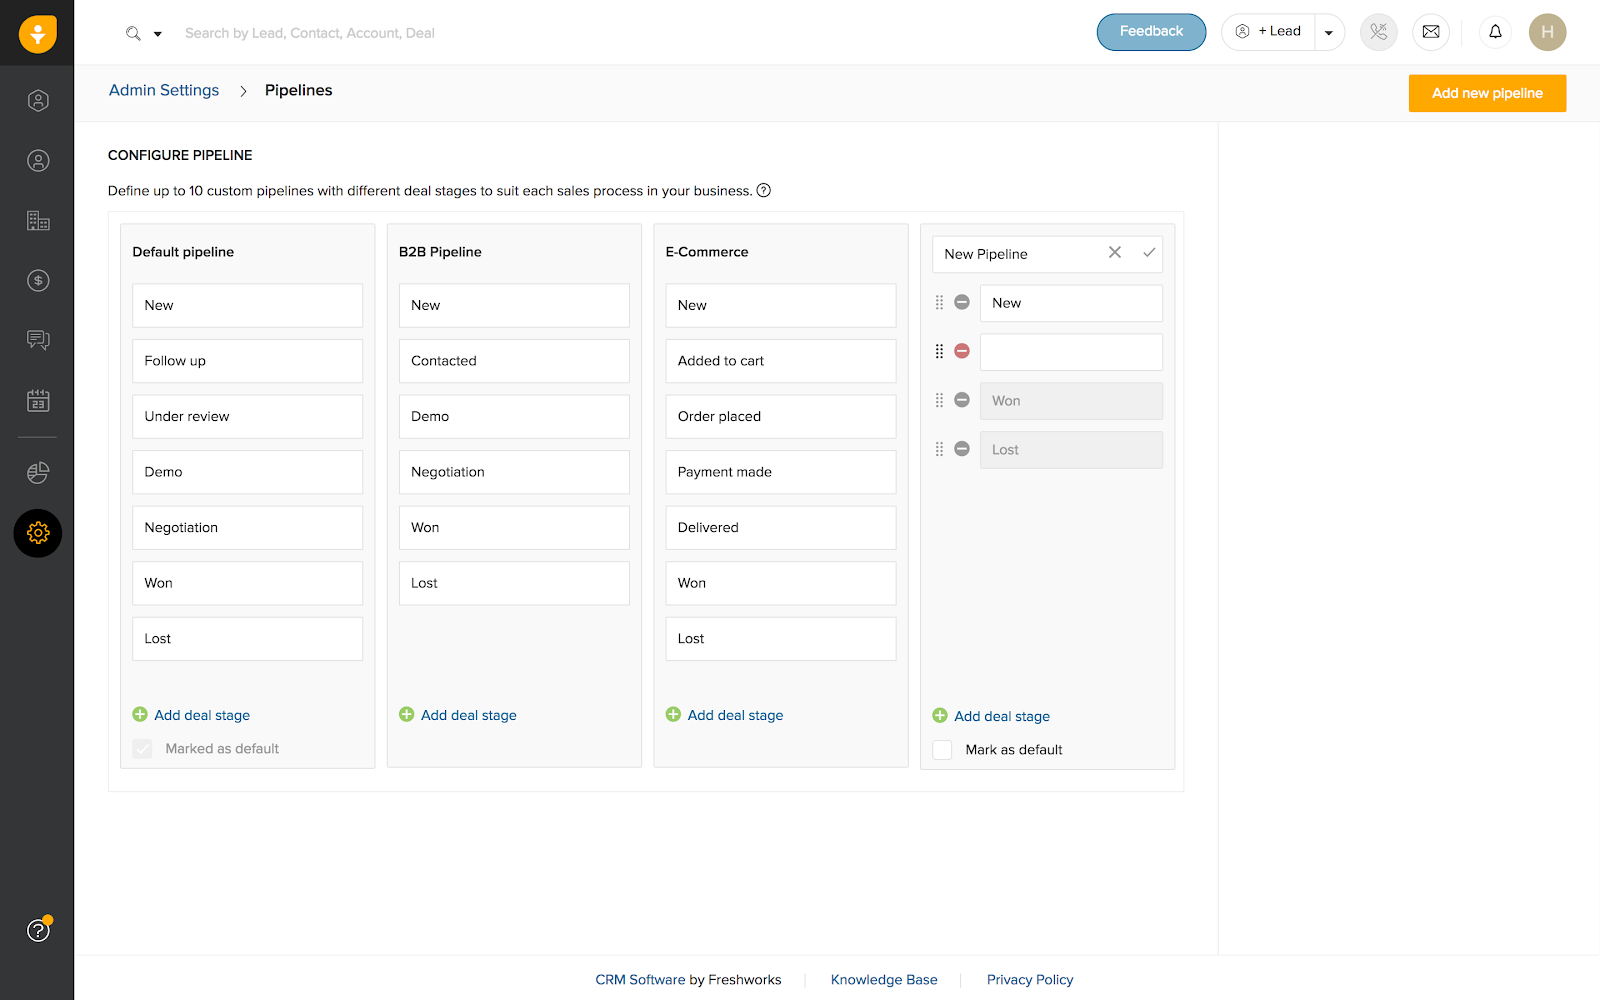
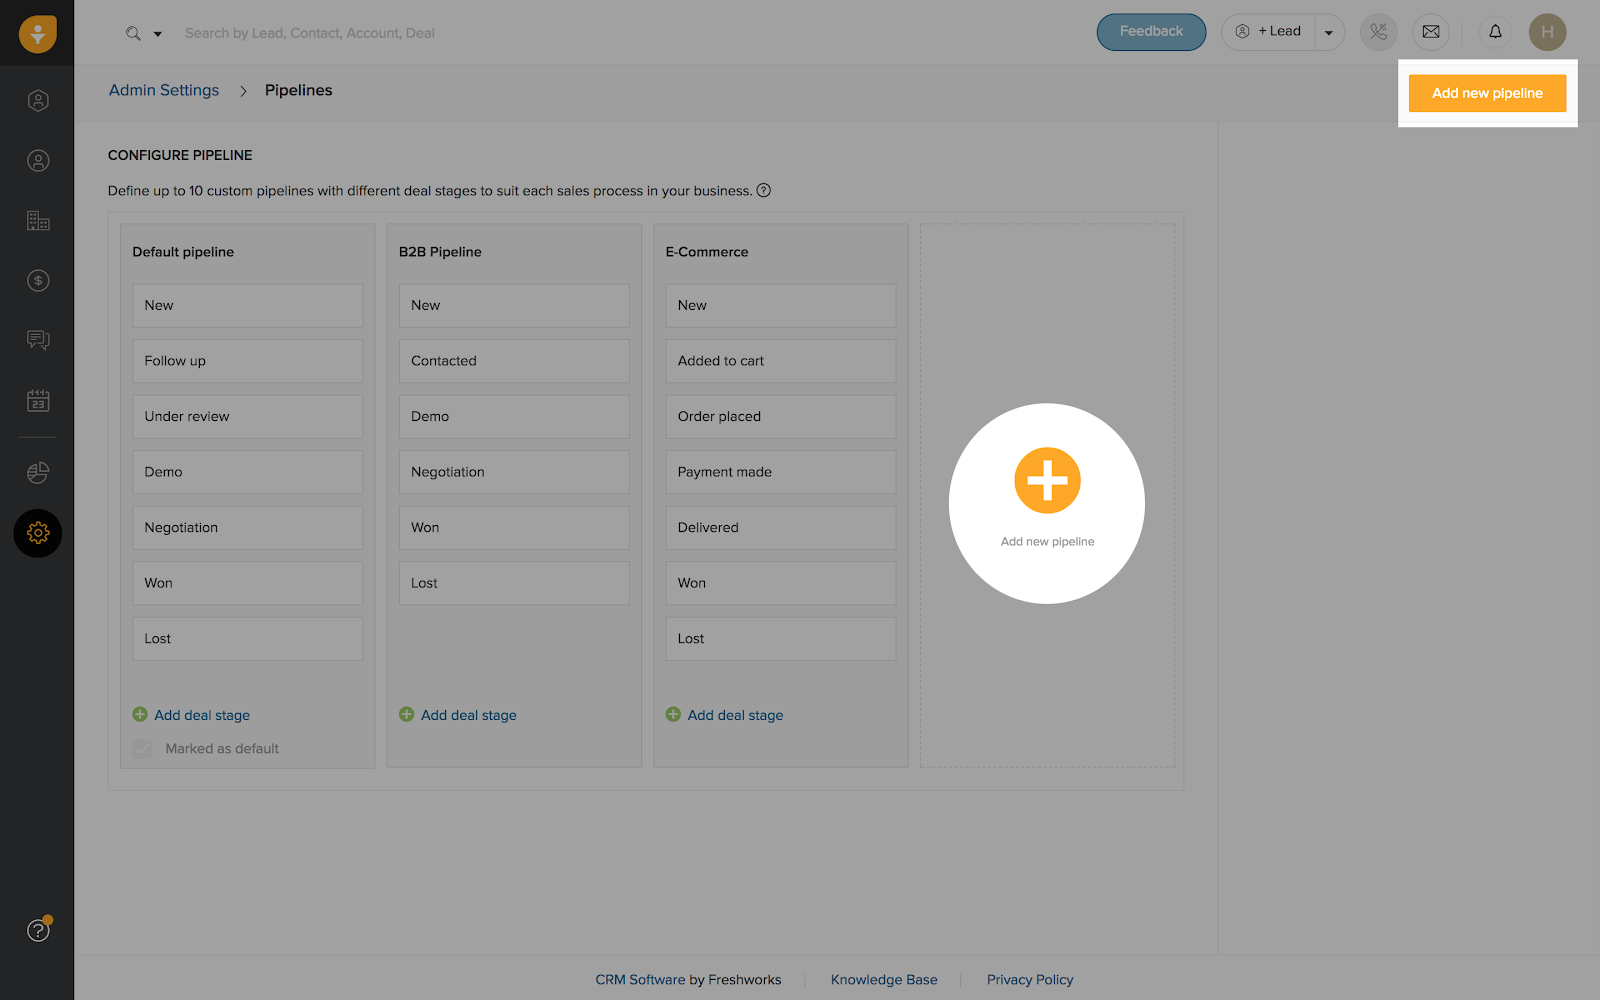
In the new card that appears
- Name your pipeline
- Populate the stages
- Reorder the stages too
Won and Lost are default stages for every newly added pipeline.
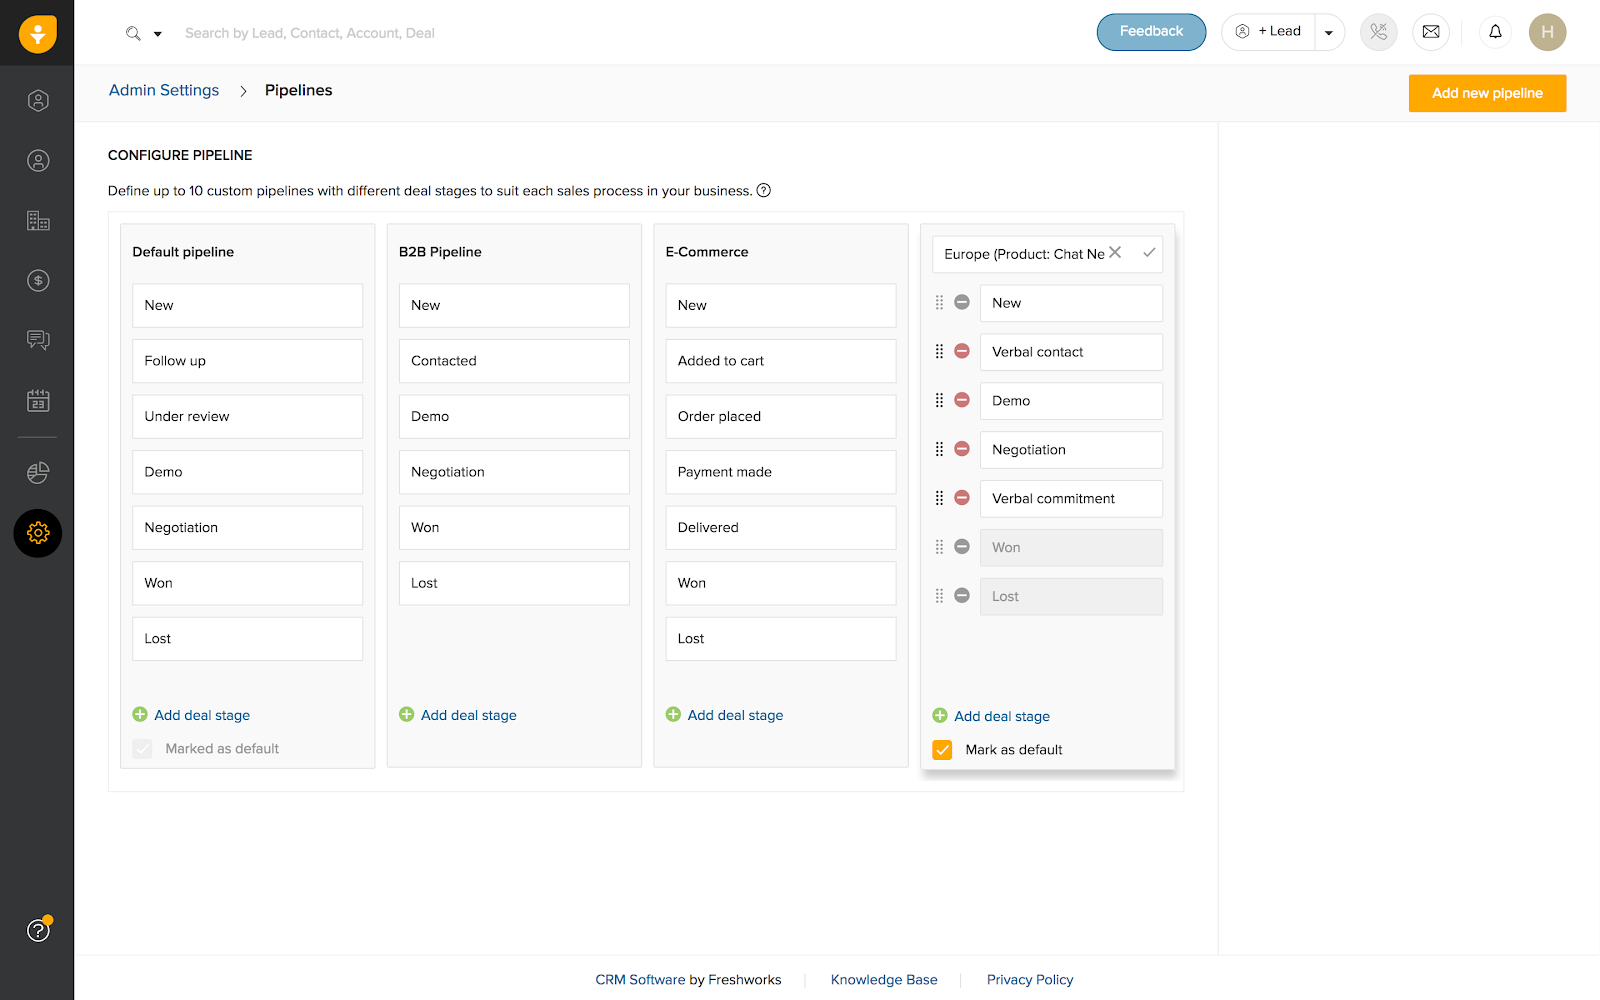
To make your pipeline as the admin default, enable the Mark as Default checkbox. Click here to know more on this.
You can go back and edit the pipelines using the Edit icon.
Note:
- Maximum limit: 10 2. Stages - Unlimited, there is no cap on the number of stages per pipeline. But, at least a minimum of 3 stages are mandatory(inclusive of Won & Lost). |
Can I create two pipelines with the same name?
No! Each pipeline should have a unique name. They can have the same stages though.
Can I have two similar stages for a given pipeline?
No! Each stage in a pipeline should have a unique name.
Can I edit more than one pipeline simultaneously?
Yes! You can edit and make changes to the name, add, rename or delete stages of multiple pipelines parallelly.
Once you’ve successfully configured your pipelines, you can view them in the Deals tab.
You can now add deals to their relevant pipelines, helping sales reps view and work with a focused set of deals.
